How to Mount Your TV Flush on the Wall: Expert TV Installation Guide
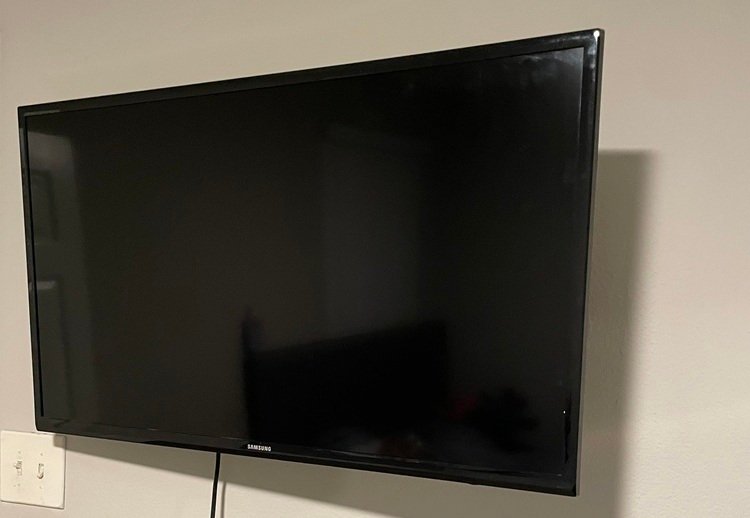
Mounting your TV flush on the wall is an excellent way to save space, achieve a modern aesthetic, and create a seamless look in your living room or bedroom. Unlike traditional TV mounting methods, a flush TV installation positions your television almost flat against the wall, similar to hanging a picture frame. Follow this expert guide to ensure a secure and attractive TV mounting experience.
Step 1: Choose the Right TV Mount
Selecting the proper TV mount is crucial for achieving a flush wall installation. Look for ultra-slim or low-profile TV mounts specifically designed for flat-screen TVs. These mounts minimize the gap between your TV and the wall, typically leaving only 0.5 to 1.5 inches of clearance.
Step 2: Gather Necessary Tools and Equipment
Prepare for your TV installation by gathering these essential tools:
- Ultra-slim flush mount bracket
- Stud finder (for drywall installation)
- Power drill and drill bits
- Measuring tape
- Level
- Screwdriver
- Pencil or marker
- Wall anchors or bolts appropriate for your wall type
Step 3: Find the Ideal Wall Placement
Proper placement enhances your viewing experience. Experts recommend mounting your TV so that the center of the screen aligns with your eye level when seated. Also, ensure that the chosen wall has easy access to power outlets and cable connections for a clean, clutter-free setup.
Step 4: Mark and Measure Carefully
Use a stud finder to locate wall studs if you’re installing on drywall. Mark the center of each stud and ensure the TV mount will anchor securely. For concrete or brick walls, mark clearly where you’ll drill the anchor holes. Use a level and measuring tape to confirm accurate positioning, ensuring your TV sits perfectly straight.
Step 5: Securely Install the Wall Bracket
Begin the TV mounting process by drilling pilot holes according to your marks. Secure the wall bracket firmly using appropriate anchors or screws, ensuring each bolt is tightly fastened. Regularly check with a level to maintain accuracy during installation.
Step 6: Attach Mounting Hardware to Your TV
Attach the mounting brackets securely to the back of your TV. Ensure all screws are tightly fastened to prevent potential risks after installation. Be cautious to use screws of the correct length and thread to avoid damaging your TV.
Step 7: Mount the TV onto the Wall Bracket
With assistance, carefully lift and align your TV onto the wall bracket, securely locking it in place. Verify it is correctly mounted by gently testing its stability. If your bracket features locking screws or security tabs, ensure they are engaged.
Step 8: Manage Your Cables Effectively
Achieve a professional, clean look by organizing your cables neatly. Use cable covers or wall plates designed specifically for flush-mounted TVs to conceal cables effectively. For a polished look, consider an in-wall cable management solution.
Essential TV Installation Tips:
- Always double-check your measurements before drilling.
- Confirm your wall’s load-bearing capability to support the weight of your TV.
- Ensure all connections are properly accessible after installation.
- Regularly check your TV mount’s stability over time.
Conclusion
Flush TV mounting can dramatically enhance the aesthetics of your space while optimizing viewing comfort. Follow these detailed steps to ensure your TV installation is secure, sleek, and professional-looking. Enjoy your upgraded viewing experience knowing your TV is perfectly installed.